00. 스레드 vs 프로세스
프로세스 : 운영체제에서 실행중인 하나의 애플리케이션
- 사용자가 애플리케이션을 실행하면 운영체제로부터 실행에 필요한 메모리를 할당 받아 프로세스를 실행한다.
- Chrome 브라우저 두 개를 실행했다면 두 개의 프로세스가 생성된 것
멀티태스킹 : 두 가지 이상의 작업을 동시에 처리하는 것.
- 운영체제는 CPU 및 메모리 자원을 프로세스마다 적절히 할당해주고 병렬로 실행시킨다.
- 멀티태스킹은 꼭 멀티프로세스를 뜻하지 않는다.
예) 메신저에서 채팅기능을 제공하면서 동시에 파일 전송 기능을 수행하기도 한다.
- 하나의 프로세스가 멀티태스킹을 수행하기 위해서는 멀티 스레드가 필요하다.
- 스레드는 태스킹 단위마다 생성된다.
멀티프로세스 : 서로 독립적이기 때문에 하나의 프로세스에서 발생한 예외가 다른 프로세스에 영향을 미치지 않는다.
(예 : chrome에서 오류가 생겨도 이클립스는 정상적으로 작동한다.)
멀티스레드 : 하나의 프로세스 내부에 생성되기 때문에 하나의 스레드에서 예외가 생기면 다른 스레드에도 영향을 준다. 따라서, 예외처리가 매우 중요하다.
(예 : 메신저 파일 전송 중 예외가 생기면 채팅기능 까지 먹통이 될 수 있다)
스레드에 이름을 붙이면 디버깅 할 때 도움이 된다.
스레드에 우선순위를 부여할 수 있다.
01. 메인스레드
두 개의 작업을 메인스레드가 모두 실행하도록 만들면, 하나의 작업이 모두 끝난 후에야 다른 작업이 가능하다.
|
1
2
3
4
5
6
7
8
9
10
11
12
13
14
15
16
17
|
public class BeepPrintExample1 {
public static void main(String[] args) {
//작업1
for(int i=0; i<5; i++) {
System.out.println("beeping...");
} //end for
//작업2
for(int i=0; i<5; i++) {
System.out.println("printing....");
}
}
}
http://colorscripter.com/info#e" target="_blank" style="color:#e5e5e5text-decoration:none">Colored by Color Scripter
|
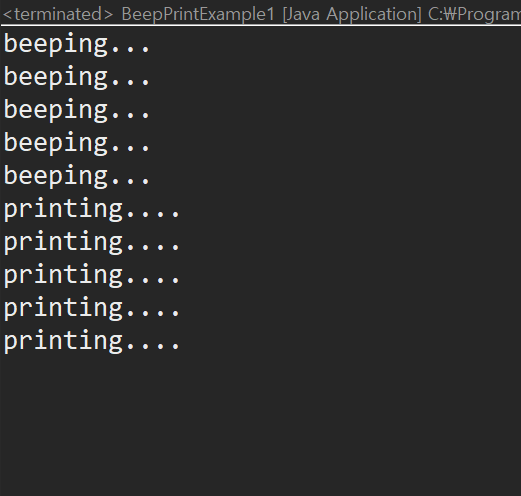
실행결과 : 작업1이 먼저 끝난 뒤에야 작업2가 실행된다.
02. 작업스레드 - Runnable 인터페이스 사용
메인스레드 외에 작업스레드를 만들어서 태스크를 나눠줄 수 있다.
이렇게 하면 두 작업을 번갈아 실행함으로써, 멀티태스킹이 가능해진다.
프린팅은 메인스레드가, beeping은 작업스레드가 담당하도록 해 보았다.
작업스레드로 사용될 클래스
|
1
2
3
4
5
6
7
8
9
10
11
12
13
14
|
public class BeepTask implements Runnable { //작업스레드는 Runnable 인터페이스를 구현해야 한다.
public static void main(String[] args) { }
@Override
public void run() { //작업스레드가 실행할 내용 작성
Toolkit toolkit = Toolkit.getDefaultToolkit();
for (int i = 0; i < 5; i++) {
System.out.println("beeping...");
} // end for
} //end run()
} // end class
http://colorscripter.com/info#e" target="_blank" style="color:#e5e5e5text-decoration:none">Colored by Color Scripter
|
메인스레드
|
1
2
3
4
5
6
7
8
9
10
11
12
13
14
15
16
17
18
|
public class BeepPrintExample2 {
public static void main(String[] args) {//BeepTask 클래스와 짝임.
//Runnable 인터페이스로 BeepTask(작업스레드 역할) 객체를 만들고
Runnable beepTask = new BeepTask();
//그 객체를 담은 작업 스레드를 만들고
Thread thread = new Thread(beepTask);
//작업스레드를 실행시킨다.
thread.start();//thread 실행
//---------------------------
for (int i = 0; i < 5; i++) {
System.out.println("printing....");
}
}
}
http://colorscripter.com/info#e" target="_blank" style="color:#e5e5e5text-decoration:none">Colored by Color Scripter
|
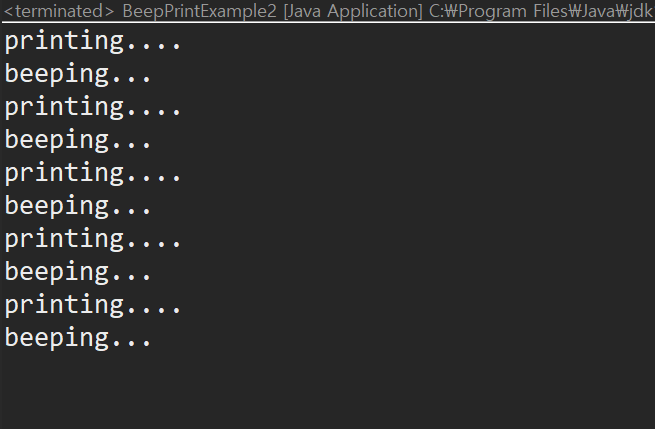
실행결과 : 두 작업이 번갈아 실행된다.
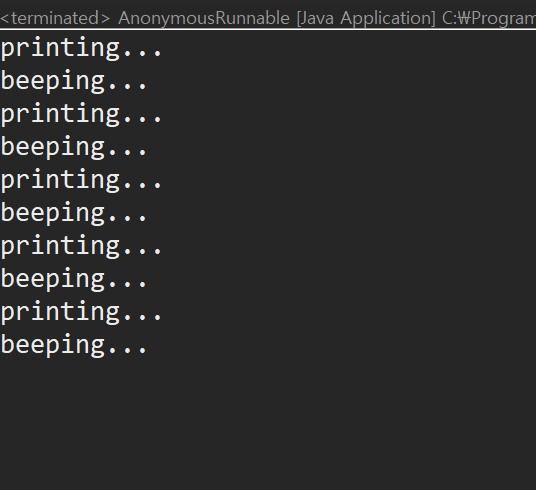
혹은, 코드를 절약하기 위해 아래와 같이 익명객체를 활용할 수도 있다.
|
1
2
3
4
5
6
7
8
9
10
11
12
13
14
15
16
17
18
19
20
21
22
23
24
|
public class AnonymousRunnable {
public static void main(String[] args) {
Thread thread = new Thread(new Runnable() { //익명객체.
public void run() {
for (int i = 0; i < 5; i++) {
System.out.println("beeping...");
} // end for
}// end run()
}); //end new Thread
//메인스레드
for (int i = 0; i < 5; i++) {
System.out.println("printing...");
} // end for
} // end main
}// end class
http://colorscripter.com/info#e" target="_blank" style="color:#e5e5e5text-decoration:none">Colored by Color Scripter
|
실행결과 : 마찬가지로 작업이 번갈아가며 실행된다.
03. 작업스레드 - 상속 사용
작업 스레드가 실행할 작업을 Runnable로 만들지 않고 Thread의 하위 클래스로 작업 스레드를 정의하면서 작업 내용을 포함시킬 수도 있다.
작업 스레드 클래스를 정의하는 방법 :
1. 먼저 Thread 클래스를 상속한 후
2. run 메소드를 overriding해서 스레드가 실행할 코드를 작성한다.
작업스레드
|
1
2
3
4
5
6
7
8
9
10
|
public class BeepThread extends Thread {
@Override
public void run() {
for(int i=0; i<5 ; i++) {
System.out.println("beeping...");
}
}
}
http://colorscripter.com/info#e" target="_blank" style="color:#e5e5e5text-decoration:none">Colored by Color Scripter
|
메인스레드
|
1
2
3
4
5
6
7
8
9
10
11
|
public class BeepPrintExample3{
public static void main(String[] args) {
Thread thread = new BeepThread();
for(int i=0; i<5; i++) {
System.out.println("printing...");
}
}
http://colorscripter.com/info#e" target="_blank" style="color:#e5e5e5text-decoration:none">Colored by Color Scripter
|
코드를 줄이기 위해 다음과 같이 하나의 클래스에 담을 수도 있다.
|
1
2
3
4
5
6
7
8
9
10
11
12
13
14
15
16
17
18
19
20
21
22
|
public class BeepPrintExample3{
public static void main(String[] args) {
//작업스레드
Thread thread = new Thread() {
public void run() {
for(int i=0; i<5 ; i++) {
System.out.println("beeping...");
}
}//end run()
}; //end new Thread()
//메인스레드
for(int i=0; i<5; i++) {
System.out.println("printing...");
}
} //end main
}
http://colorscripter.com/info#e" target="_blank" style="color:#e5e5e5text-decoration:none">Colored by Color Scripter
|
코드를 어떻게 작성하든 두개의 작업이 번갈아가며 실행됨을 알 수 있다.
'IT > Java' 카테고리의 다른 글
| 24_Java : API - Arrays 클래스 - 배열의 복사, 정렬, 검색 (0) | 2020.03.19 |
|---|---|
| 23_자바로 도서 관리 프로그램 만들기 (4) | 2020.03.14 |
| 22_자바로 석차 계산 가능한 성적표 만들기(클래스, ArrayList 활용) (2) | 2020.03.08 |
| 21_이메일 형식 검사 프로그램(정규표현식, 자바 Pattern 클래스) (0) | 2020.01.21 |
| 20_Java String 클래스 (0) | 2020.01.14 |
